- IPv6 Rotating Proxy Blog: Boosting Your Online Privacy 24/05/2025
- Exploring the Demand for Twitter Accounts for Sale 07/05/2024
- Unlocking TikTok’s Potential – Why Buying TikTok Accounts Can Boost Your Earnings 05/05/2024
- Unleashing Marketing Potential with Bulk Facebook Accounts 13/03/2024
- Boost TikTok Livestream Views with an Efficient View Bot: Maintain Steady Viewer Count 01/02/2024
- Gmail Generators & Bulk Account Registration! Meet GmailCreator by Autobotsoft! 30/01/2024
- Searching for Affordable Static Residential Proxy Sellers 12/01/2024
- Exploring Instagram Account Creation with Gmail: A Guide to InstagramCreator Bot 10/01/2024
How to use multiple browsers and multiple accounts on Laptop / PC with Multi-browsers tool
Our Multi-browsers tool will help users to use multiple browsers and accounts at the same time on the same computer but with different IP addresses.
Outstanding features of Multi-browsers tool – Use multiple browsers and accounts
- Open many browsers with different IPs
- Emulate thousands of unique devices
- Support proxy
- Multi-threading software
- Data management
- Farm profiles
- Save all cookies and login sections on profiles.
How to run Multi-Browsers Tool to use multiple browsers and accounts?
A. Login
When you buy Multi-Browers software, we will provide you with 3 links: software link, desktop useragent file and mobile useragent file. Download all these files and unzip the Qnigram.rar then run the .exe file to open the software.
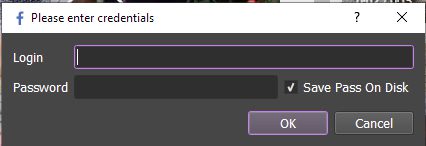
Use the provided license username and password to fill in Login and Password.
Click OK to login.

B. Detailed settings of Multi-browsers tool – Use multiple browsers and accounts
B1. Data:
>Refer to HOW TO IMPORT DATA to learn how to import data
Note:
- The data imported consists of Name Profile,Proxy:Port. Refer to this Template.
- Leave Proxy and Port empty if you select proxy from File or No at IP Option.
In the Data section, select the Group that you want to run.

B2. Run:
This is the number of times that you want the software to run. You can leave it as the default.

B3. Threads
The number of threads is the number of tabs, accounts, or windows that run at the same time to use multiple browsers and accounts.Each thread will open a separate browser which has different fingering and IP. Provide number of threads that complies with your computer configuration.

B4. Folder Cookies:
Folder Cookies is a place where the software will store cookies and profiles of the accounts. Software will use cookies and profiles for the next runs without logging back into account. Create a new Cookies folder on any hardware disk that you want to save cookies and profile and get the path to put into the setting as shown:


B5. IP Option
To avoid being locked out of your Gmail accounts, you should use proxies.
Option 1: Choose Data

(Tutorial on how to import Data in section B1).
Option 2: Choose File
Tutorial is in section B6.
Option 3: Choose No
If you don’t have Proxy, choose No Proxy to run the software. Running so many Gmail accounts on the same IP can lead to your accounts locked.
B6. File Proxy
Create a text file that contains proxies (for the LinesFromFile section). Each proxy per line in format: IP:Port:Username:Password. Leave username and password empty if your proxy doesn’t have username and password (Some proxies work with IP authentication instead of using username and password).
Click  => select the text file containing proxies.
Or paste the proxy address link (for LinesFromUrl section).
If you want to rent proxy, click HERE.

B7. Useragent (Destop)
Click  ==> select the useragent files that were downloaded as mentioned in Section A.

C. Results
Check all items and click OK to run.

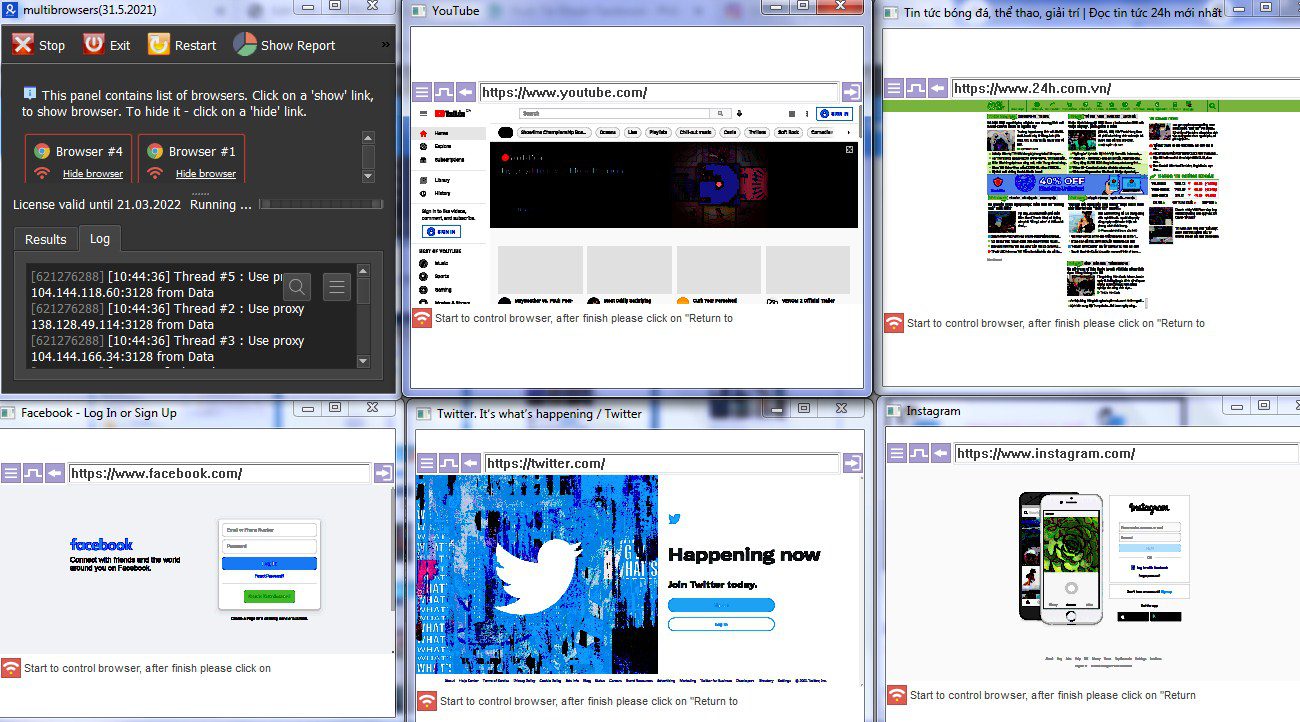
Click Show browser to see the running process of the software.
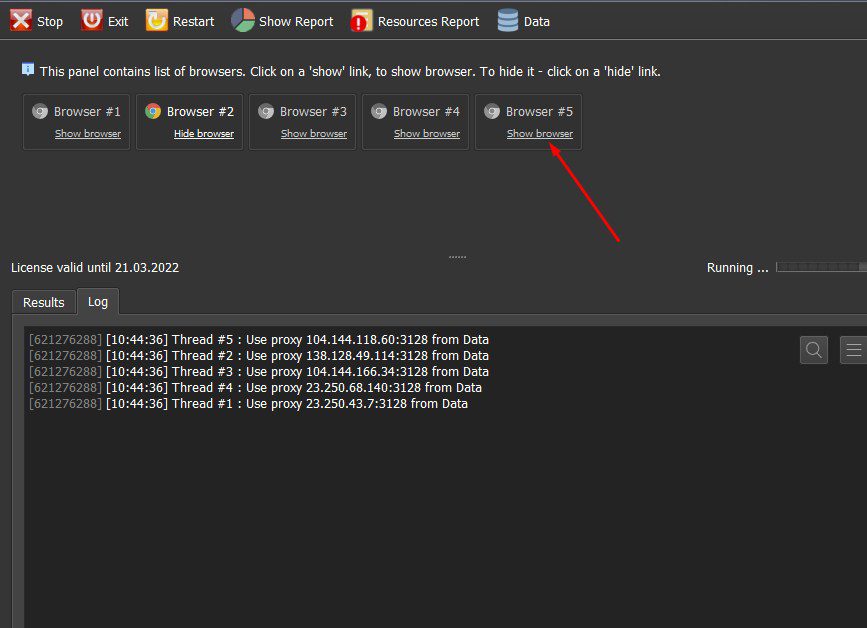
You will see a virtual browser as picture:

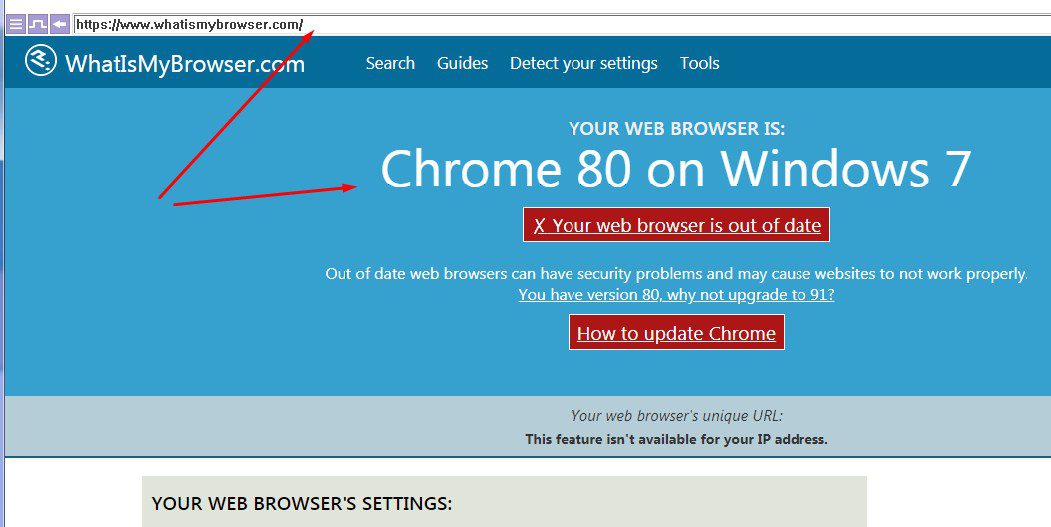
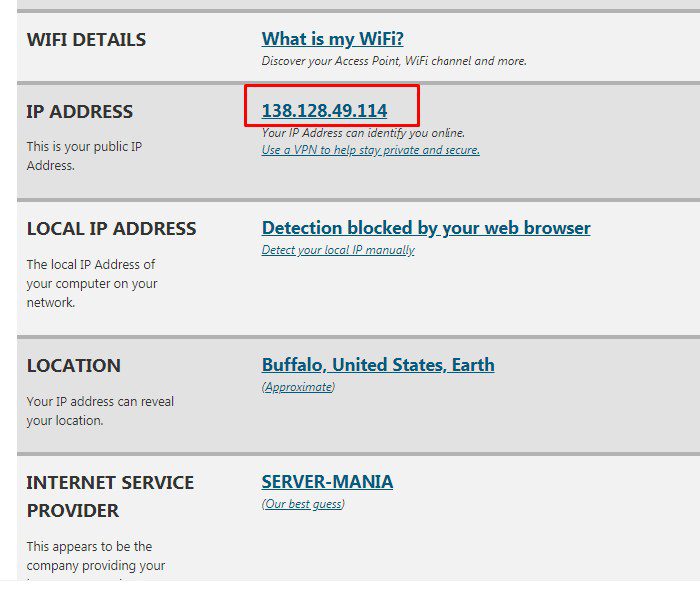
To check the IP address of virtual browsers.
Visit Whatismybrowser.com to see completely different IPs.

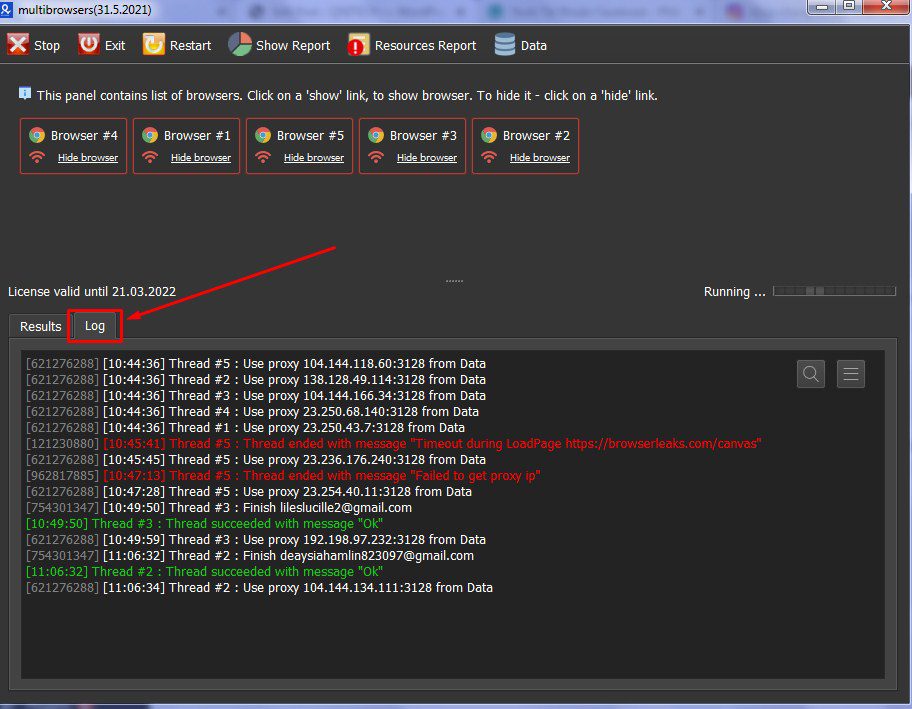
All software activities are listed in the Log section. You can see how the software is running.
Contact info
Email: [email protected]
FaceBook: https://www.facebook.com/autobotsoftsupport
Skype: live:.cid.78c51cd4e7238ae3
YouTube: https://www.youtube.com/channel/UCGftS8E3vX7IaUwg4GgDWDQ
Twitter: https://twitter.com/autobotsoft


